

Windows Server quick start guide.
Once an order has been received, checked and processed, you will receive a welcome email to the registered address.
This email will provide instructions on how to initiate the installation of an operating system.
In order to request an installation, you need to log into the Simply Control Panel, select your server and then click the Install button.
The OS available will be as you selected at the time you placed the order, if you want to change the OS, you can use the upgrade option from your portal.
On our VPS and Cloud package(s) all operating systems are included in the price. There is a charge for Windows OS on our dedicated servers (please check our website for current pricing).
After clicking the ‘Install’ button you will be provided with various installation options, once you have completed all mandatory fields, ensure you make a note of the password as you will need it to log in once complete and press the install button to initiate the installation.
The installation should take between 10 to 20 minutes for a VPS or Cloud product but can take several hours for a Dedicated Server, depending on the specification and add-ons purchased e.g. Plesk & SQL
Once the installation is complete, connect using the IP address, via the RDP protocol, with a Remote Desktop Client, built into the Windows operating system or downloaded from the Apple Store for Mac users.
You will need the username: ‘administrator’ and the password you noted down when you initiated the installation.
If you have Plesk installed and wish to connect to configure your website(s) etc. connect via a browser to: https://xxx.xxx.xxx.xxx:8443 (the primary IP of the server and the Plesk port) and enter either the username: ‘administrator’ and the password used for the installation.
Internet Browsing:
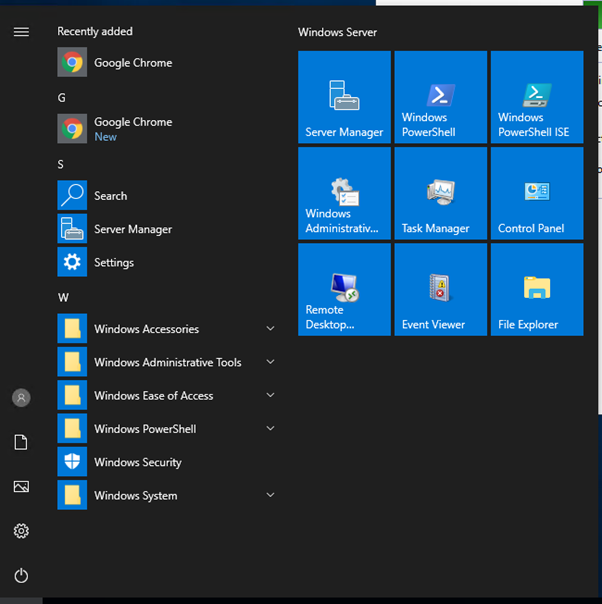
Before you can browse the internet on a Windows Server, open ‘Server Manager’ and disable ‘IE Enhanced Security Configuration’.
It is then possible to download a browser of your choice i.e. Google Chrome, Firefox, Opera, Edge.
Disabling IE Enhanced Security Configuration could leave the server more vunerable to attack, it is never good practice to use an account with Administrator privileges for standard operation such as browsing.
Downloading and installing 3rd party software:
Download the application setup file and double click to install. Please ensure it is compatible with the installed version of Windows, you accept the relevant terms and conditions and have the required software licence before proceeding.
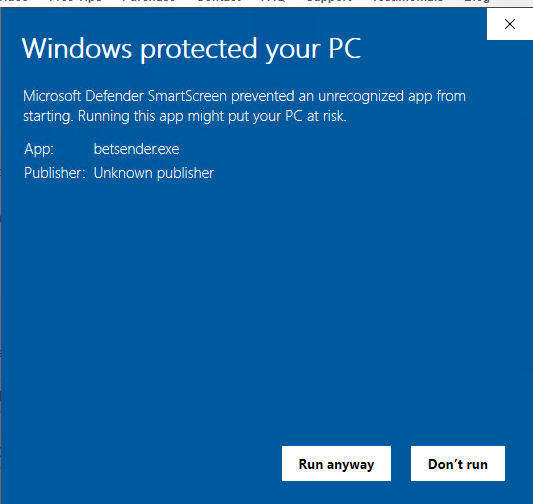
In order to install some applications, you may be displayed the following warning:
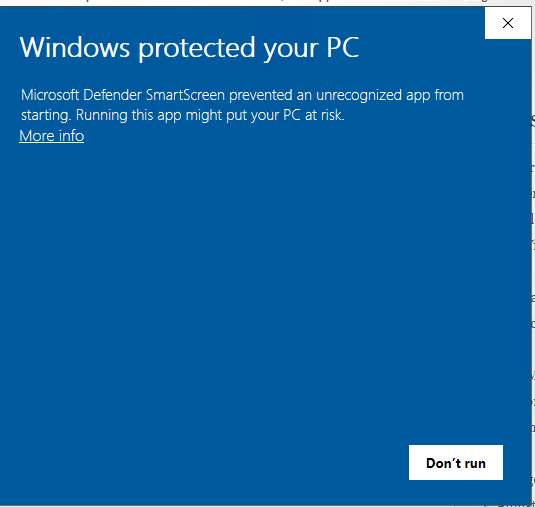
This generally means the software either hasn’t been tested and verified by Microsoft or isn’t digitally signed, only proceed if you are sure you trust, and want to install the software as it could leave your server vulnerable.
If you wish to proceed, the click “more info” and click “Run Anyway“
After double-clicking the installation files, if nothing happens you may need to ‘Unblock’ it by right-clicking, selecting ‘properties’ then ‘general’ and click the button as shown below.
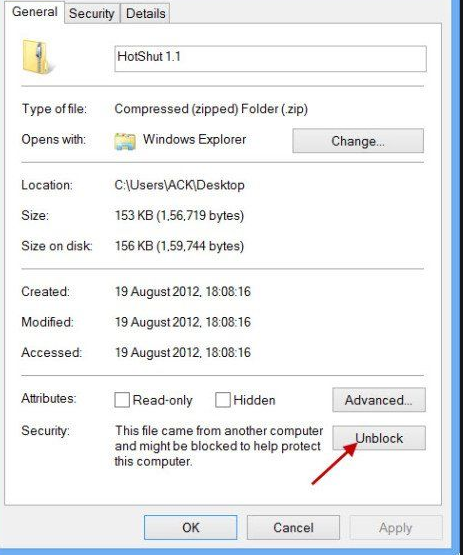
Please only proceed if you are sure you trust, and want to install the software, as it could leave your server vulnerable.
Built-in Security:
Shipped with a standard Windows Server 2016 and above is Windows Defender, which is a built-in Anti-Virus utility more details of which can be found by visiting Microsoft.
Also shipped is a built-in Firewall and in order to ‘harden’ your server we recommend you familiar yourself with the built-in Windows Firewall and close any unnecessary ports, protocols etc.
It may also be worth considering changing the default RDP port from 3389 to something else, but before you make this change in the Windows registry you must create a new Firewall rule to allow RDP traffic into the new port, otherwise you will lose the ability to connect to the server afterwards.
For most environments the default Firewall Policy should be sufficient, however you may need to create rules to allow access to additional applications and services.
You access the basic Firewall settings by clicking “start” and then “Windows Security“
The following is then displayed;
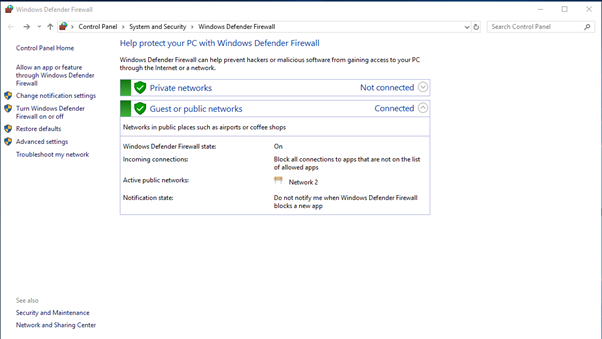
As this is a hosted server, the default profile is detected as ‘Guest or Public networks’.
If you wish to configure the Advanced Settings, click the ‘Advanced Settings’ on the right to display the screen below:
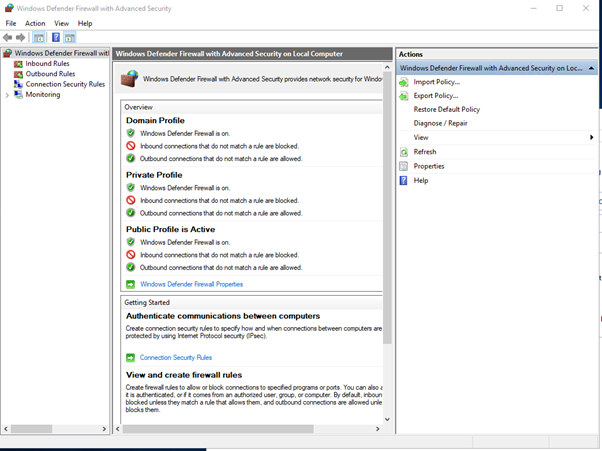
Microsoft does have more information to assist you in any configuration you wish to make.