


How to enable RDP on Windows Servers
After installation, by default RDP is disabled on a Windows VPS server, we would recommend leaving the default setting and use the built-in control panel to administer your server, however if you wish to enable it the process is described below.
- Login to your customer portal with your portal email address and password.
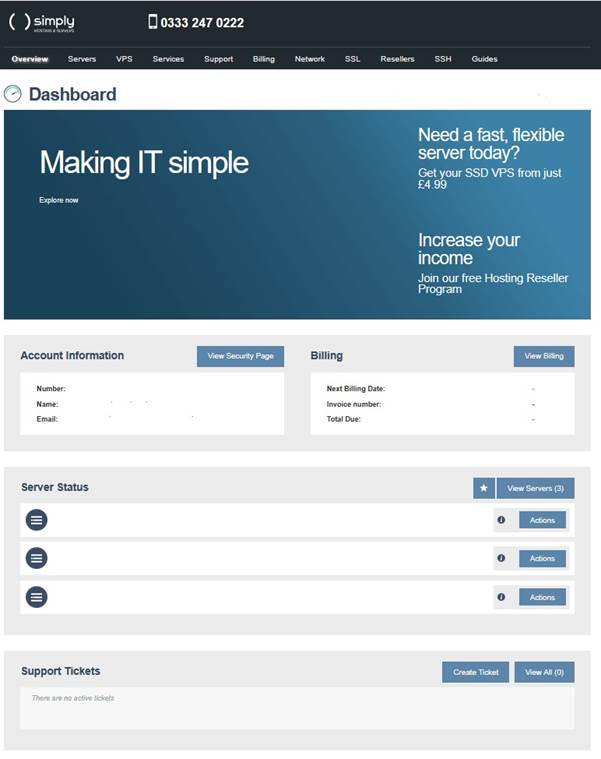
- Click on the VPS Tab, select the server from the list.
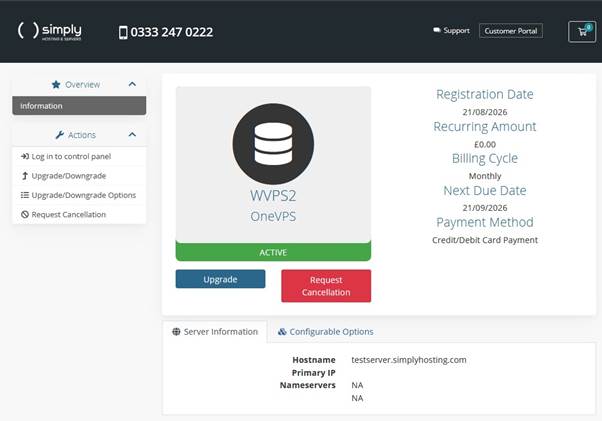
- Click on Control Panel on the left hand side, then select the server you wish to manage.
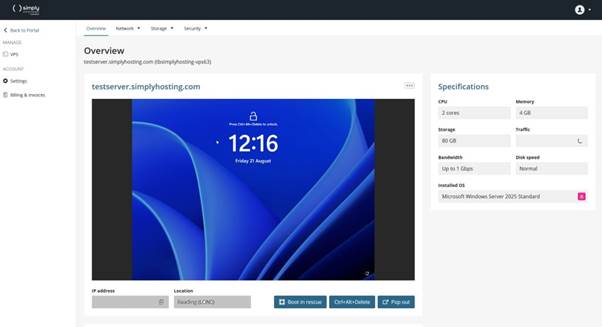
- Click the ‘Ctrl-Alt-Delete’ and enter the username ‘Administrator’ and the password you set during the final stages of the installation.
- Once the desktop has loaded type ‘Server Manager’ in the search on the task bar and launch ‘Server Manager’.
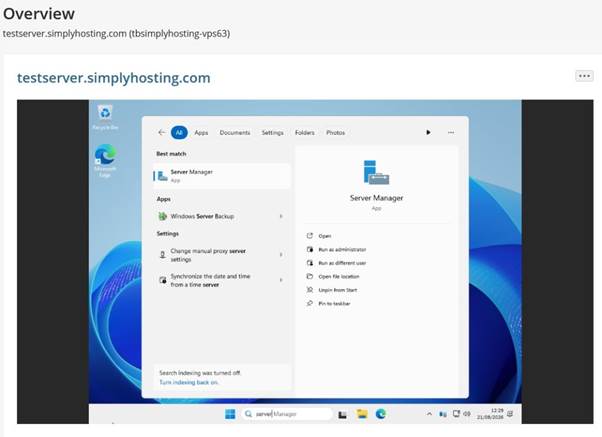
- Dismiss the message that appears and select local server from the left hand pane.
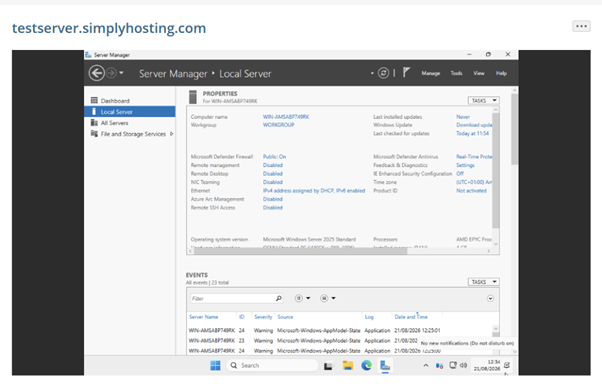
- Click on ‘Disabled’ to the right of ‘Remote Desktop’.
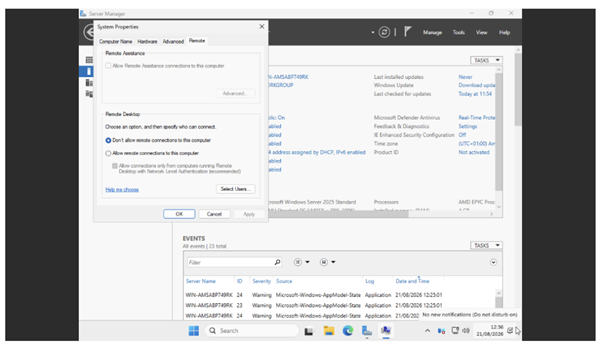
- Click on ‘Allow remote connections to this computer’ and click OK.
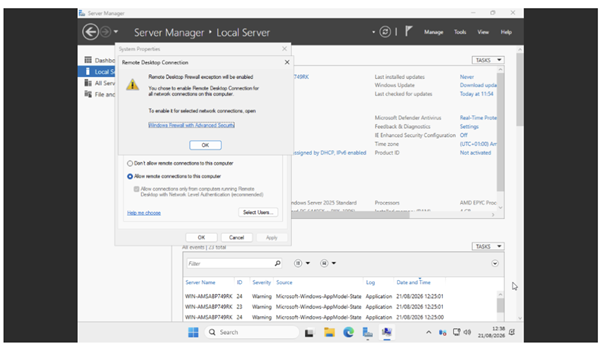
- Click OK and RDP will be enabled.
In order to reduce the chances of brute force attacks, we recommend changing the default RDP port, a guide for which is available here: https://www.simplyhosting.com/support/articles/change-the-default-rdp-port-in-windows/