

How do I log into cPanel?
This guide will walk you through setting up cPanel for the first time on any dedicated or virtual server with cPanel installed. This guide will cover the following:
How to access WHM/cPanel
1. To access WHM/cPanel on your server, you will need to use the following URL:
https://IPADDRESS:2087
(Replace IPADDRESS with the IP address of your server, you will find in the Simply Cloud control panel)
You may be prompted with a security warning. This is perfectly normal as the SSL certificate generated by cPanel is self-signed. It is safe to proceed. (see Screen 1).
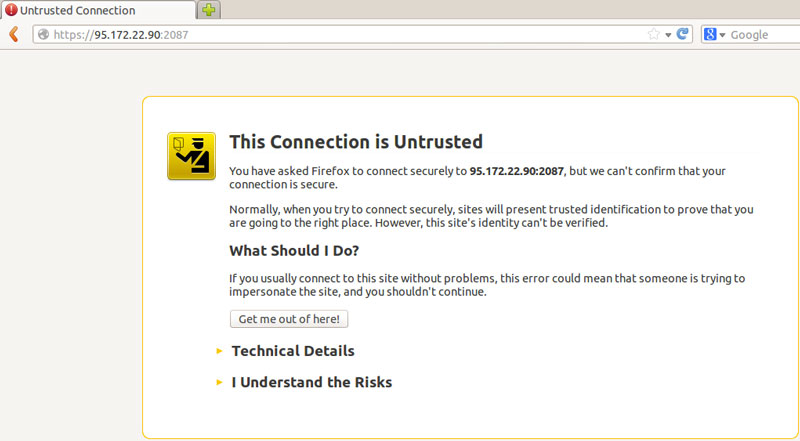
(Screen 1)
2. Once you have accepted the security warning, the next page will prompt you to enter a username and password. The username is ‘root’ and the root password can be found via your Simply Cloud control panel.(see Screen 2).

(Screen 2)
Initial WHM/cPanel set up
The first time you login to WHM/cPanel, you will need to complete the initial set up. The majority of users can just use the default pre-populated configuration. If you make a mistake, don’t worry, all options can be reconfigured within cPanel.
- Step 1 – Agreement:
Read through the licence agreement and click ‘I Agree/Go to Step 2′(see Screen 3)
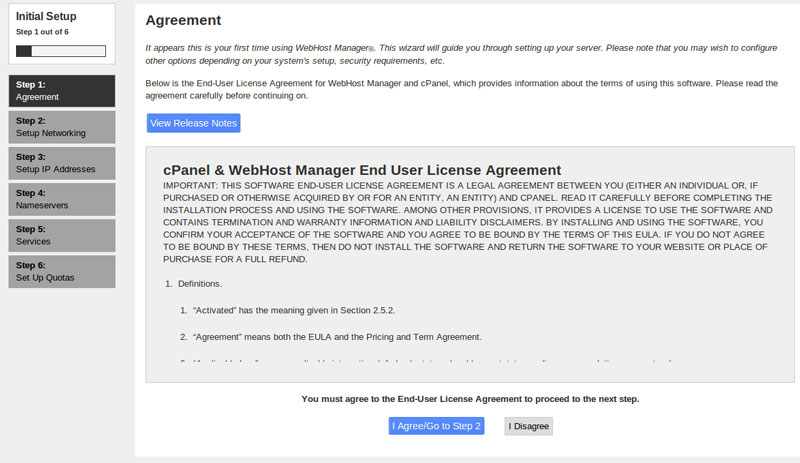
(Screen 3)
2. Step 2 – Setup Networking:
To the right of ‘Server contact Email address’, enter your email address. The rest of the options can be left as default.(see Screen 4)
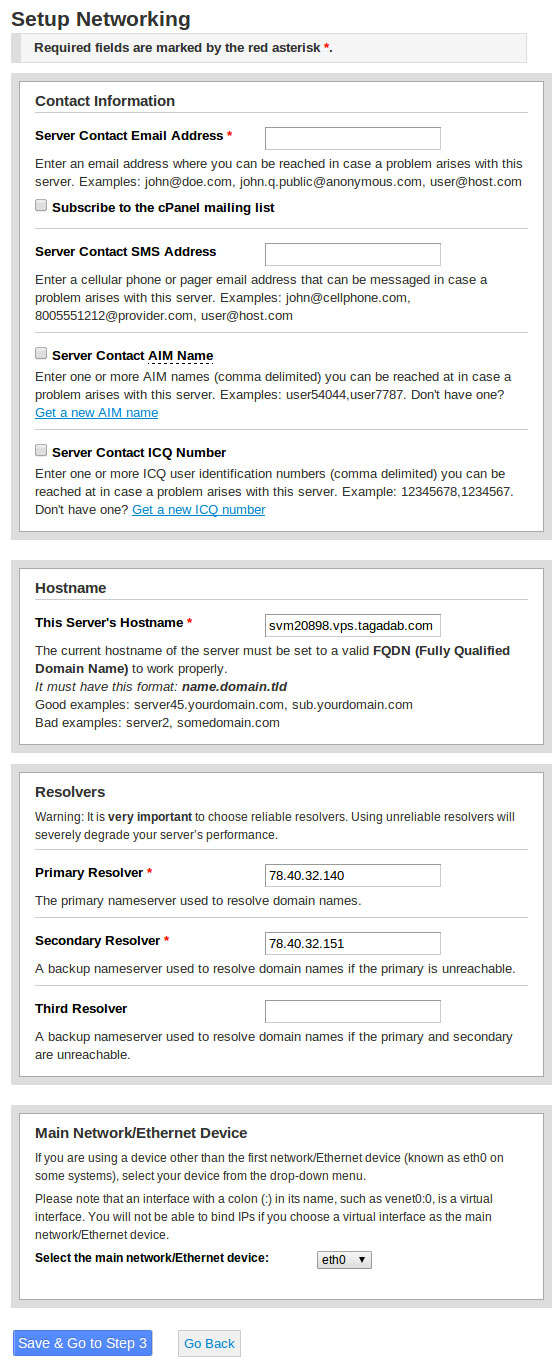
(Screen 4)
3. Step 3 – Setup IP Addresses:
The main server IP address has already been setup within WHM/cPanel. You can add additional IPs to your server in this step if required. (see Screen 5).
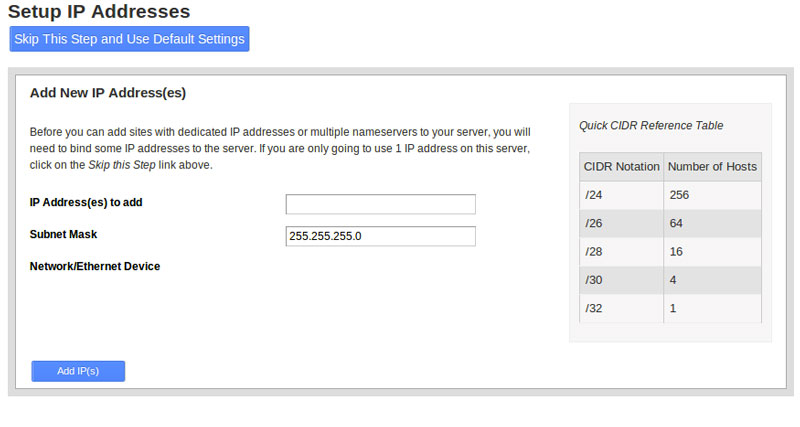
(Screen 5)
4. Step 4 – Nameservers:
The default nameserver application is BIND, which is the recommended choice. Unless you are planning to use custom nameservers, you can leave all the options in this step as default and move on to step 5(see Screen 6).
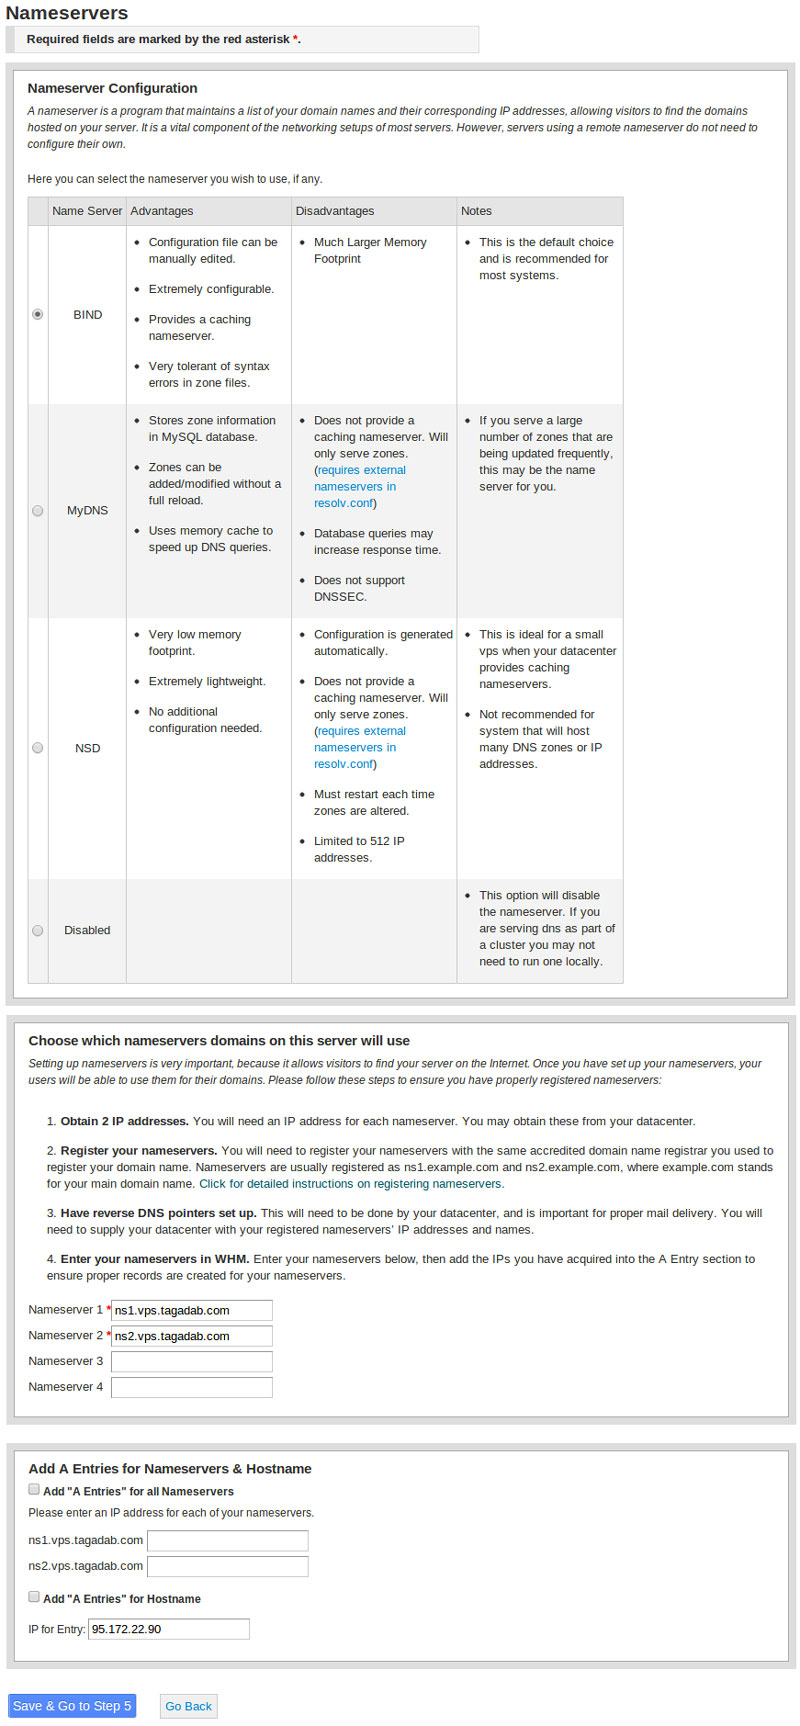
(Screen 6)
5. Step 5 – Services:
Unless you require specific services, the recommended option is to click ‘Skip this step and use the default settings'(see Screen 7).
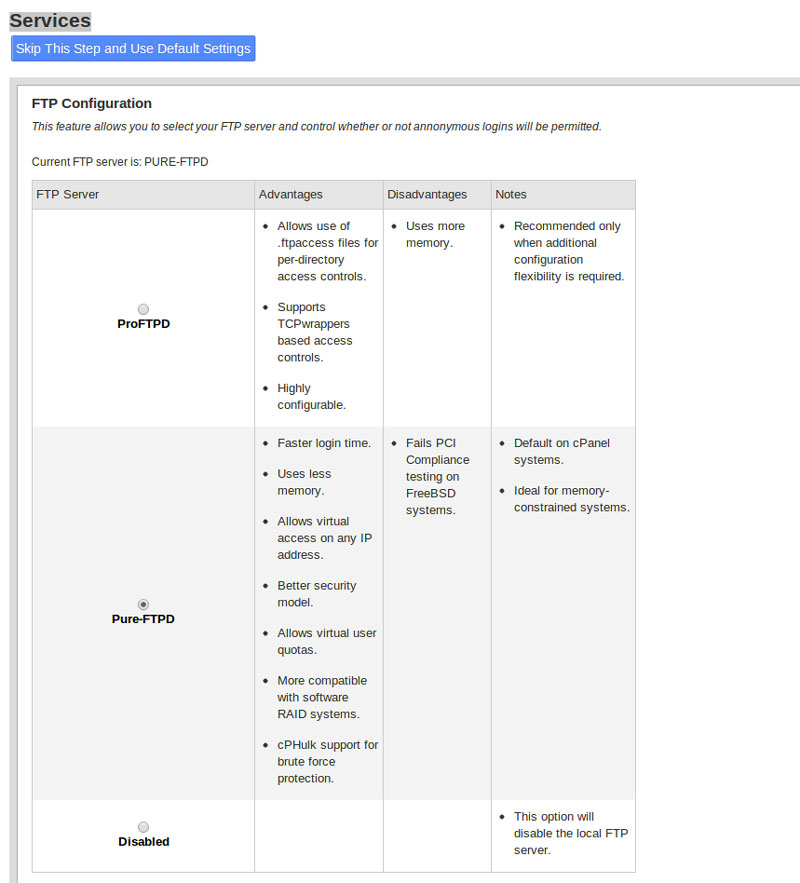
(Screen 7)
6. Step 6 – Quotas:
The recommended option is to enable file quotas, so check the option ‘Use file system quotas’.(see Screen 8).

(Screen 8)
Click ‘Finish Setup Wizard’ to complete the WHM configuration.