

Creating an SPF Record When Configuring Plesk
This guide will walk you through the process of creating an SPF record on your server when configuring Plesk.
Before you begin
Configure the name servers for the intended domain to resolve to your Plesk server. For example, a domain such as ‘domain.tld’ would need name servers like ‘ns1.domain.tld and ns2.domain.tld’ pointing to IP addresses that resolve to your Plesk server.
If you are using Simply Cloud shared name servers for the domain, you will need to set up an SPF record in the Simply Cloud Control Panel.
SPF for your DNS Domain
Before beginning the process of creating an SPF record in Plesk, you will first need an SPF record for your DNS domain. If you do not have one, complete the SPF generator wizard at the following link: https://www.spfwizard.net
Answer a few questions about your setup and the wizard will generate a valid SPF record for you. You can also use the above link to check an existing SPF record.
SPF for your DNS Domain
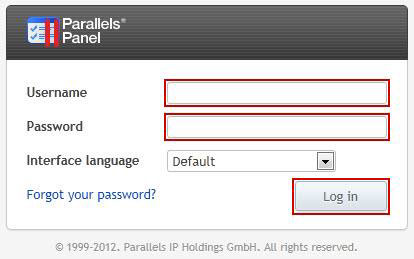
Step 1
Login to your Parallels Plesk Panel (see Screen 1)
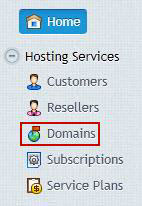
Step 2
Click on the Domains link on the left panel.
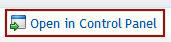
Step 3
Click on the Open in Control Panel link for the relevant domain name.
Step 4
Click on the Website & Domains tab.
Get in touch
If you need advice on Ubuntu, we’re here to help.
Call us on 0333 247 0222: Monday – Friday, 9am – 5.30pm.
Chat with us on LiveChat: Monday – Friday, 9am – 5.30pm.
Write to us: Send us a support ticket from your Simply portal and we’ll get back to you as soon as we can.
If you don’t have an account with Simply Hosting yet, you can also send our Sales team an enquiry and we’ll get back to you between 9am and 5.30pm, Monday to Friday.