

Configuring an Additional IP Address on a Windows Server
Login to you server via ‘Remote desktop connection.’ Go to the Start menu > Control Panel and open ‘Network and Sharing Center’ (see Screen 1):
Steps for Configuring an IP Address
- Login to you server via ‘Remote desktop connection.’ Go to the Start menu > Control Panel and open ‘Network and Sharing Centre’ (see Screen 1):
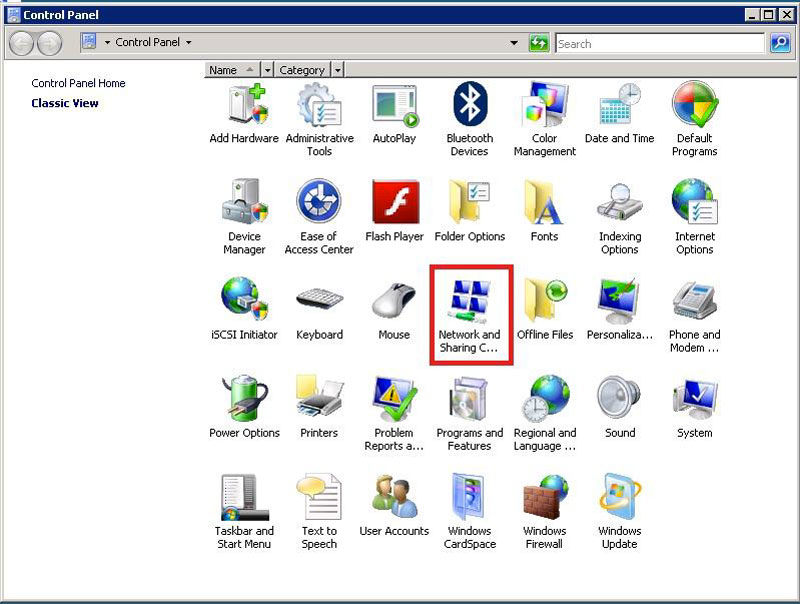
(Screen 1)
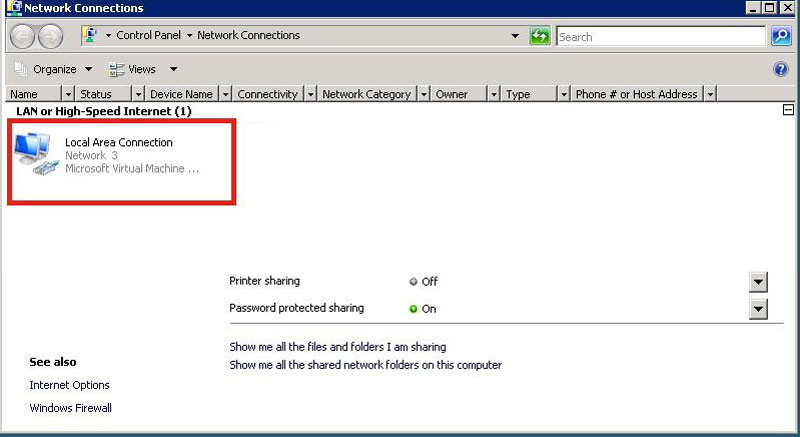
2. Click ‘Manage Network Connections’ [or ‘change adapter settings’ depending on your OS] from the left menu (see Screen 2):

(Screen 2)
3. Right click ‘Local Area Connection’ (see Screen 3) and select ‘Local Area Connection Properties’:
(Screen 3)
4. If you see the following message, just click ‘Continue’ (See Screen 4):
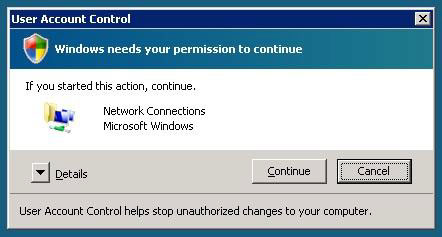
(Screen 4)
5. Make sure ‘Internet Protocol Version 4 (TCP/IPv4)’ is checked and click ‘Properties’ (see Screen 5):
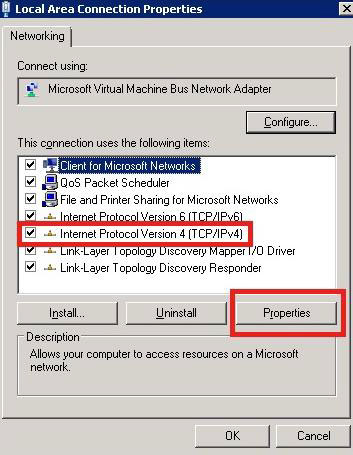
(Screen 5)
6. Click ‘Advanced’ when shown Screen 6:
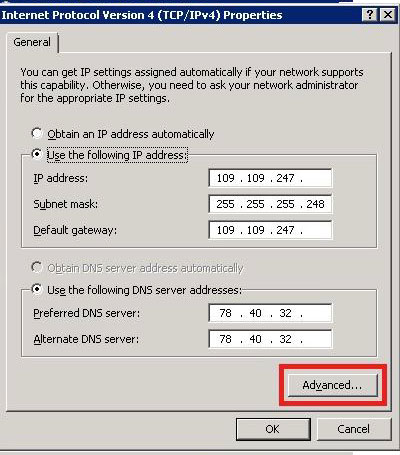
(Screen 6)
7. Then click ‘Add’ under ‘IP addresses’ (see Screen 7):
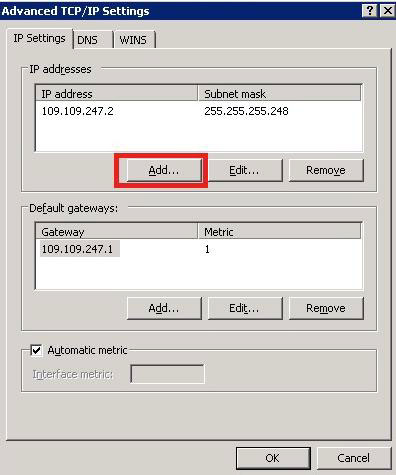
(Screen 7)
8. Enter the new IP to the right of ‘IP address’ and then type 255.255.255.248 to the right of ‘Subnet Mask’ (see Screen 8). Click ‘Add.’
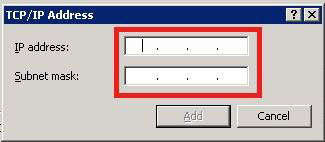
(Screen 8)
9. Click ‘OK’ twice and then ‘Close.’
NOTE: If you would like to add another IP address, simply repeat steps 7 and 8 for each new IP.